Several people have asked me if working at HGTV has somehow magically transformed my home into a showpiece. The answer is hell no. Even though I know exactly how I would design every inch of my home, I still have the same challenges of budget, time and a husband who is one of five straight men in the world with an opinion about how it’s done.
One of the points of home decor contention between the Modern Love Machine and I was snug, empty corner in the kitchen. The spot measured a mere 2-by-1 1/2 feet with a daunting 9-foot ceiling. The MLM wanted a portable island with maybe a pot rack hanging above. I argued that there wasn’t nearly enough space for such things — not to mention that we had more than enough counter space — and what we really needed was a spot for our burgeoning cookbook and cooking magazine collection.
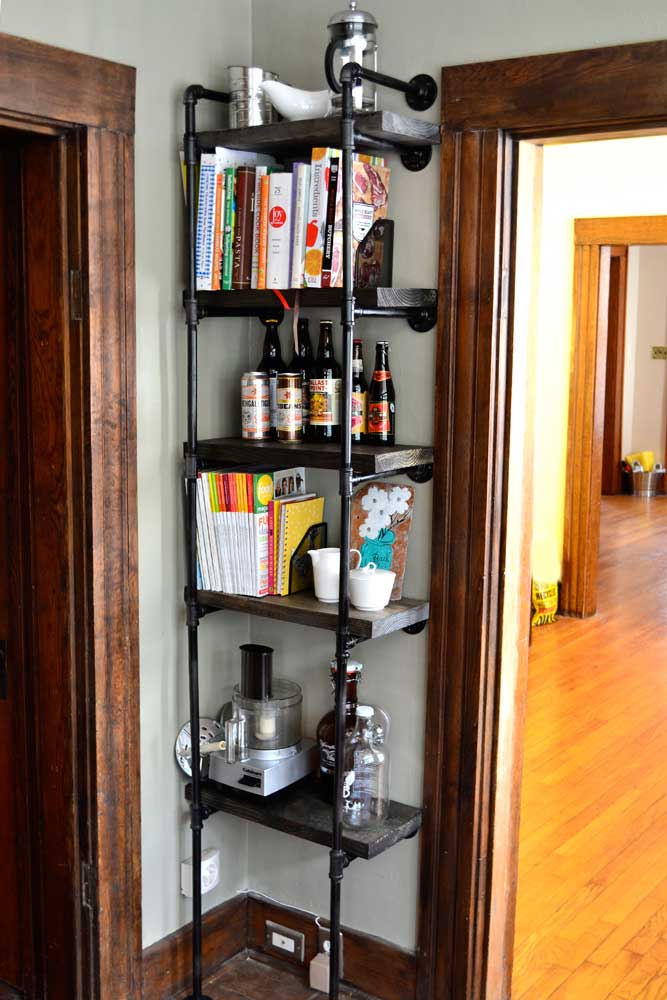
With enough badgering and photo pinning and a very small smidge of compromise, the MLM agreed to a shelving unit. After he vetoed most of the shelving units that I liked and that appropriately fit the tiny/tall space, I came up with a plan blessed by the MLM that eventually turned into this:

Oh, and P.S. I made it. (With inspiration from this blog post by Sylvie Liv found via Pinterest)
Though I’ve generally shied away from DIY and other crafty projects, I have come to understand that not all DIY projects are created equal. I’ve also learned that if I can find step-by-step instructions with illustrations (or even better, a video), I can generally pull off whatever the task at hand.
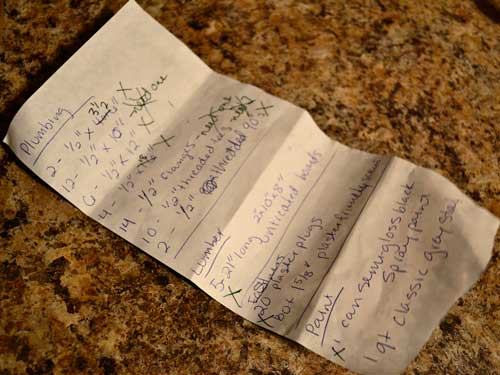
The point of this venture was to create a shelf that was thin enough it wouldn’t crowd the tiny space but tall enough that it wouldn’t be dwarfed by the 9-foot ceiling. So one Saturday a couple of weekends ago, I reinterpreted Sylvie Liv’s thoughtful shopping list with a diagram of my own, measuring three or four times before coming up with my own list.
All supplies were found within the lumber, plumbing, fastener and paint sections at the hardware store. Because The ‘hood Home Depot and Lowe’s are so tiny, I had to hit up both to get enough flanges and joints to complete the shelf. Everything cost $310 — the plumbing pieces add up quickly. And it’s worth noting that life is so much easier inside those two stores when you know what you’re looking for and where it should be.
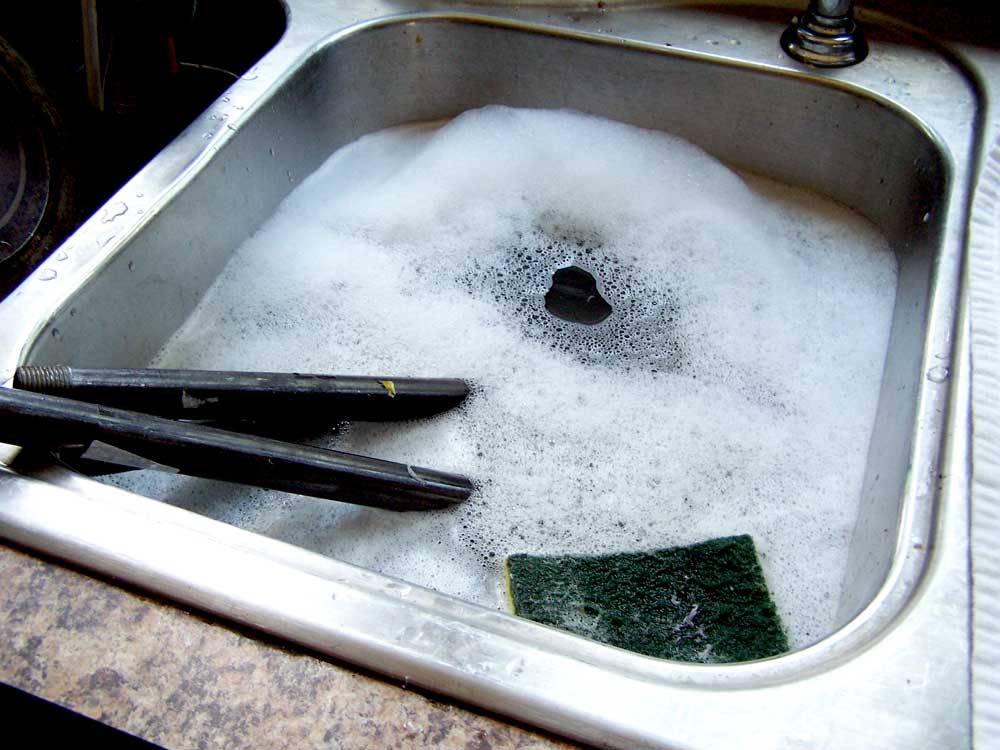
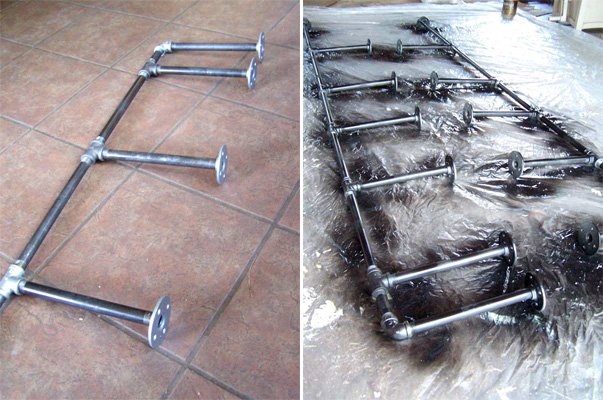
The plumbing pieces needed a good scrub to remove the dirt and obnoxious price labels. Having scrubbed labels off about a hundred jars prior to my wedding, I have tried nearly every trick in the book. In this case, really hot water, a pair of sharp scissors and some elbow grease did the trick.
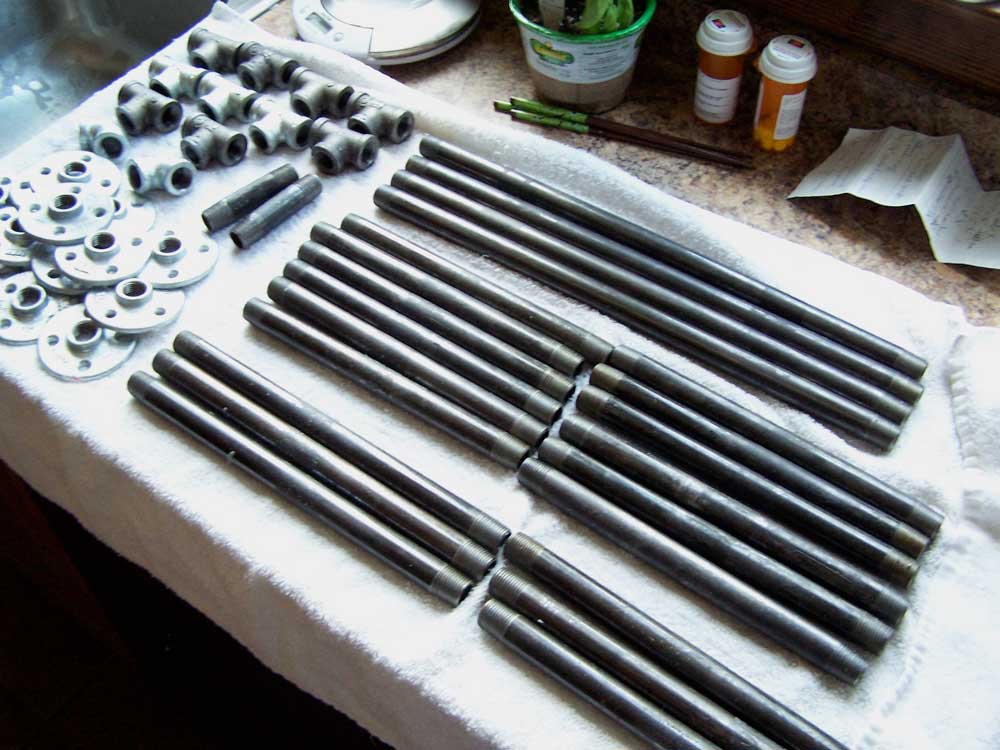
The next trick was to screw together the legs. To make the shelf as sturdy as possible, I opted to create two legs and attach the arms of the shelf directly to the wall. The crummy thing is that no matter how you screw together each piping piece, it’s going to be uneven, loose or especially tight in places. As far as I could tell there was no way of avoiding that, so I just worked around it.
You can actually purchase black piping pieces and just leave them as is. In my case, the poorly stocked hardware stores did not have enough of either black or silver pieces, so I had to use both and give the legs two coats of black spray paint to even them out. For fear of getting black paint smudges all over my kitchen, I let the legs dry in the garage overnight.
The shelves themselves came from one really long board that was trimmed to my liking by a nice fella at the Home Depot. On Sunday afternoon, I sanded them just a bit because I’m terrified of splinters and then went to work staining them. Unfortunately, neither store had the gray stain that was recommended, so I concocted a weird mixture of ebony and white that didn’t exactly turn out how I’d hoped. But it was close enough that I didn’t want to redo it.

I don’t have any photos of the sanding or attaching-to-the-wall steps since my hands were sticky or full during those parts of the process. I should also note that the MLM did not help in any way, shape or form. I’m not saying that to shame him — he was still somewhat hobbled by his knee surgery. I’m saying this to prove to all you gals out there that you can do this on your own.
I was a bit nervous about drilling the legs directly into the wall as our walls are made of plaster, and plaster is temperamental. Fortunately the HD sales associate who fielded my question about “screws appropriate for plaster walls” had plaster walls in her own home and made a very sound recommendation.
And so about 2 hours of light labor on Saturday and 3 hours of somewhat more taxing labor on Sunday resulted in the following transformation:

I really couldn’t be more thrilled or proud of how it turned out. It fills the space perfectly and (though you can’t really see it) ties in well with the black appliances. I think the MLM was especially pleased when I dedicated a whole shelf to his constantly rotating beer collection. I was happy to have all the magazines off the countertop and a more accessible place for the heavy food processor.
Inspiration and step-by-step guidance found at Sylvie Liv
That is gorgeous! Love it!
I want to build a shallow and tall bookcase for my hallway and I was thinking of going this route, but it looks like it might be way too expensive. Any advice for a novice shelf-builder?
The plumbing pieces are what cost the most — the 14 flanges (the pieces flush to the wall and the floor) and the 10 Tee joints probably did the most damage. So if you limit the number of shelves and use longer pieces of piping, you can probably get away with a cheaper setup. You could also look for cheaper salvaged wood that doesn’t need to be stained.
The HD website has prices for all of the piping on its website, so you can get a sense of the price before committing: http://www.homedepot.com/h_d1/N-5yc1vZbuu8/h_d2/Navigation?catalogId=10053&langId=-1&storeId=10051#/?c=1&rpp=96
What a cool DIY!
That shelf is gorgeous! Well done, gal!
I absolutely love this! I love the look and how industrial it is but still makes that whole corner look filled now. Nice work HGTV domestic goddess.
I love it! Very nice work. These shelves look lovely almost anywhere! 🙂 Thank you for linking to my tutorial!
Thank YOU for the inspiration and the easy-to-follow step by step!